Here's what I'll be covering for the
Spring Farm to Plate Reportage Workshop:
+
1st
session:
Using
Blobs to compose your picture, & draw people in motion.
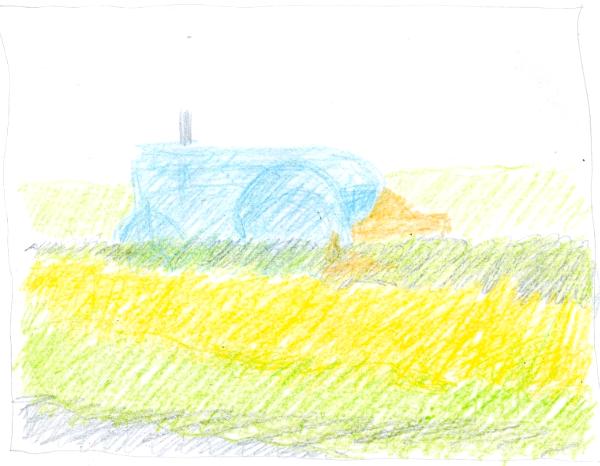
The concept of using “blobs” to compose your picture requires you to distill your scene into very general shapes. These “blobs” are easy to adjust, because they have no sharp outline. By using this method, you can compose & adjust your composition relatively easily. Adding detail becomes easier afterwards.
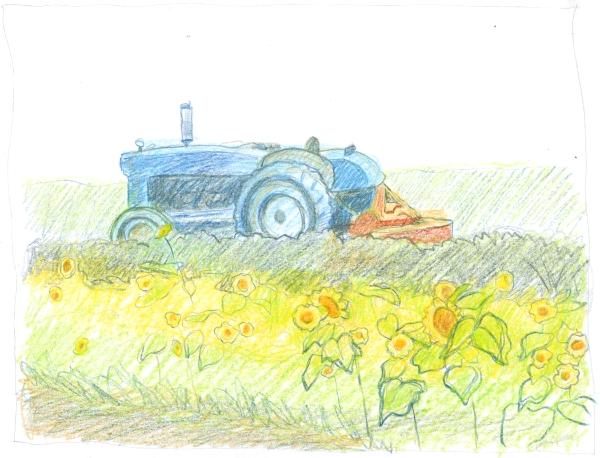
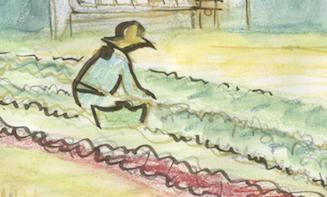
Here (below) is an example of a composition that has been “blobbed in”, then adjusted with slightly darker color. If you look closely, you can see that light lines have been added.
Here (right) you can see that more detail has been added, as well as more color, & darker & brighter lines.
(Click here for complete Blob Demo & explanation:
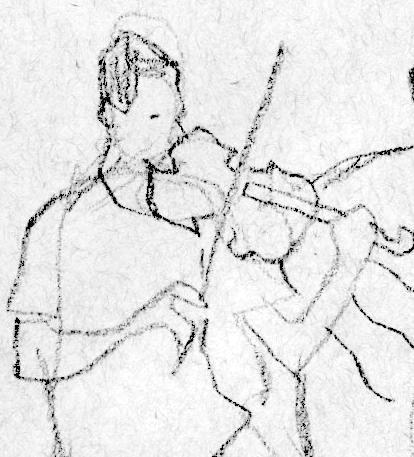
When people are moving quickly, there are only seconds to record the essence of their pose. “Blob” gestures (aka: mass gestures) can be done in a few strokes. And, if you are observing their body language closely, these gesture drawings can be very expressive! Another good thing about blob gestures is that – if you get lucky – your subject may stick around a few seconds longer, so you can scratch in a few lines of detail. Below is an example of the traditional “blocking in”. Observe the faint, general lines beneath the darker, more detailed lines.
Above, the colored shapes were “blobbed-in” first, adjusted, then the dark line added. Note that the line diverts somewhat from the colored blobs.
+
2nd session:
Multiple images; Zooming In & Out
- Multiple images at the same time
People working tend to repeat a series of motions over & over. We can use this to our advantage, by drawing 2 pictures at the same time!
You are drawing a picture of someone when you notice the exquisite expression of their feet. But your picture is too small to do justice to the detail. What to do?
+
3rd session:
What's Your Angle? How to tell the story visually.
First – find your story angle.
What jazzes you about what you see? (You may want to follow a particular person, a particular crop, or activity.) Your angle may become apparent to you after you've been drawing for awhile.
- Second - tell your story visually
Learn & practice continuity & sequencing skills, so that your pictorial “essay” makes sense to the viewer. What's important to include about the people, the action, the crops, the setting? What can be left out? This is (partially) subjective! Based on your own interest & delight.
+
4th session:
Using color & line to unify, accentuate & polish up your work.
Tricks for creating a cohesive foreground, mid-ground, & background.
Q&A
We'll cover
questions students have about the previous lessons, & tie up any
loose ends. (Some students may volunteer to help cook!)
Register by August 22nd for the Early Registration discount!
For questions or registration info: